Frequency Setting:
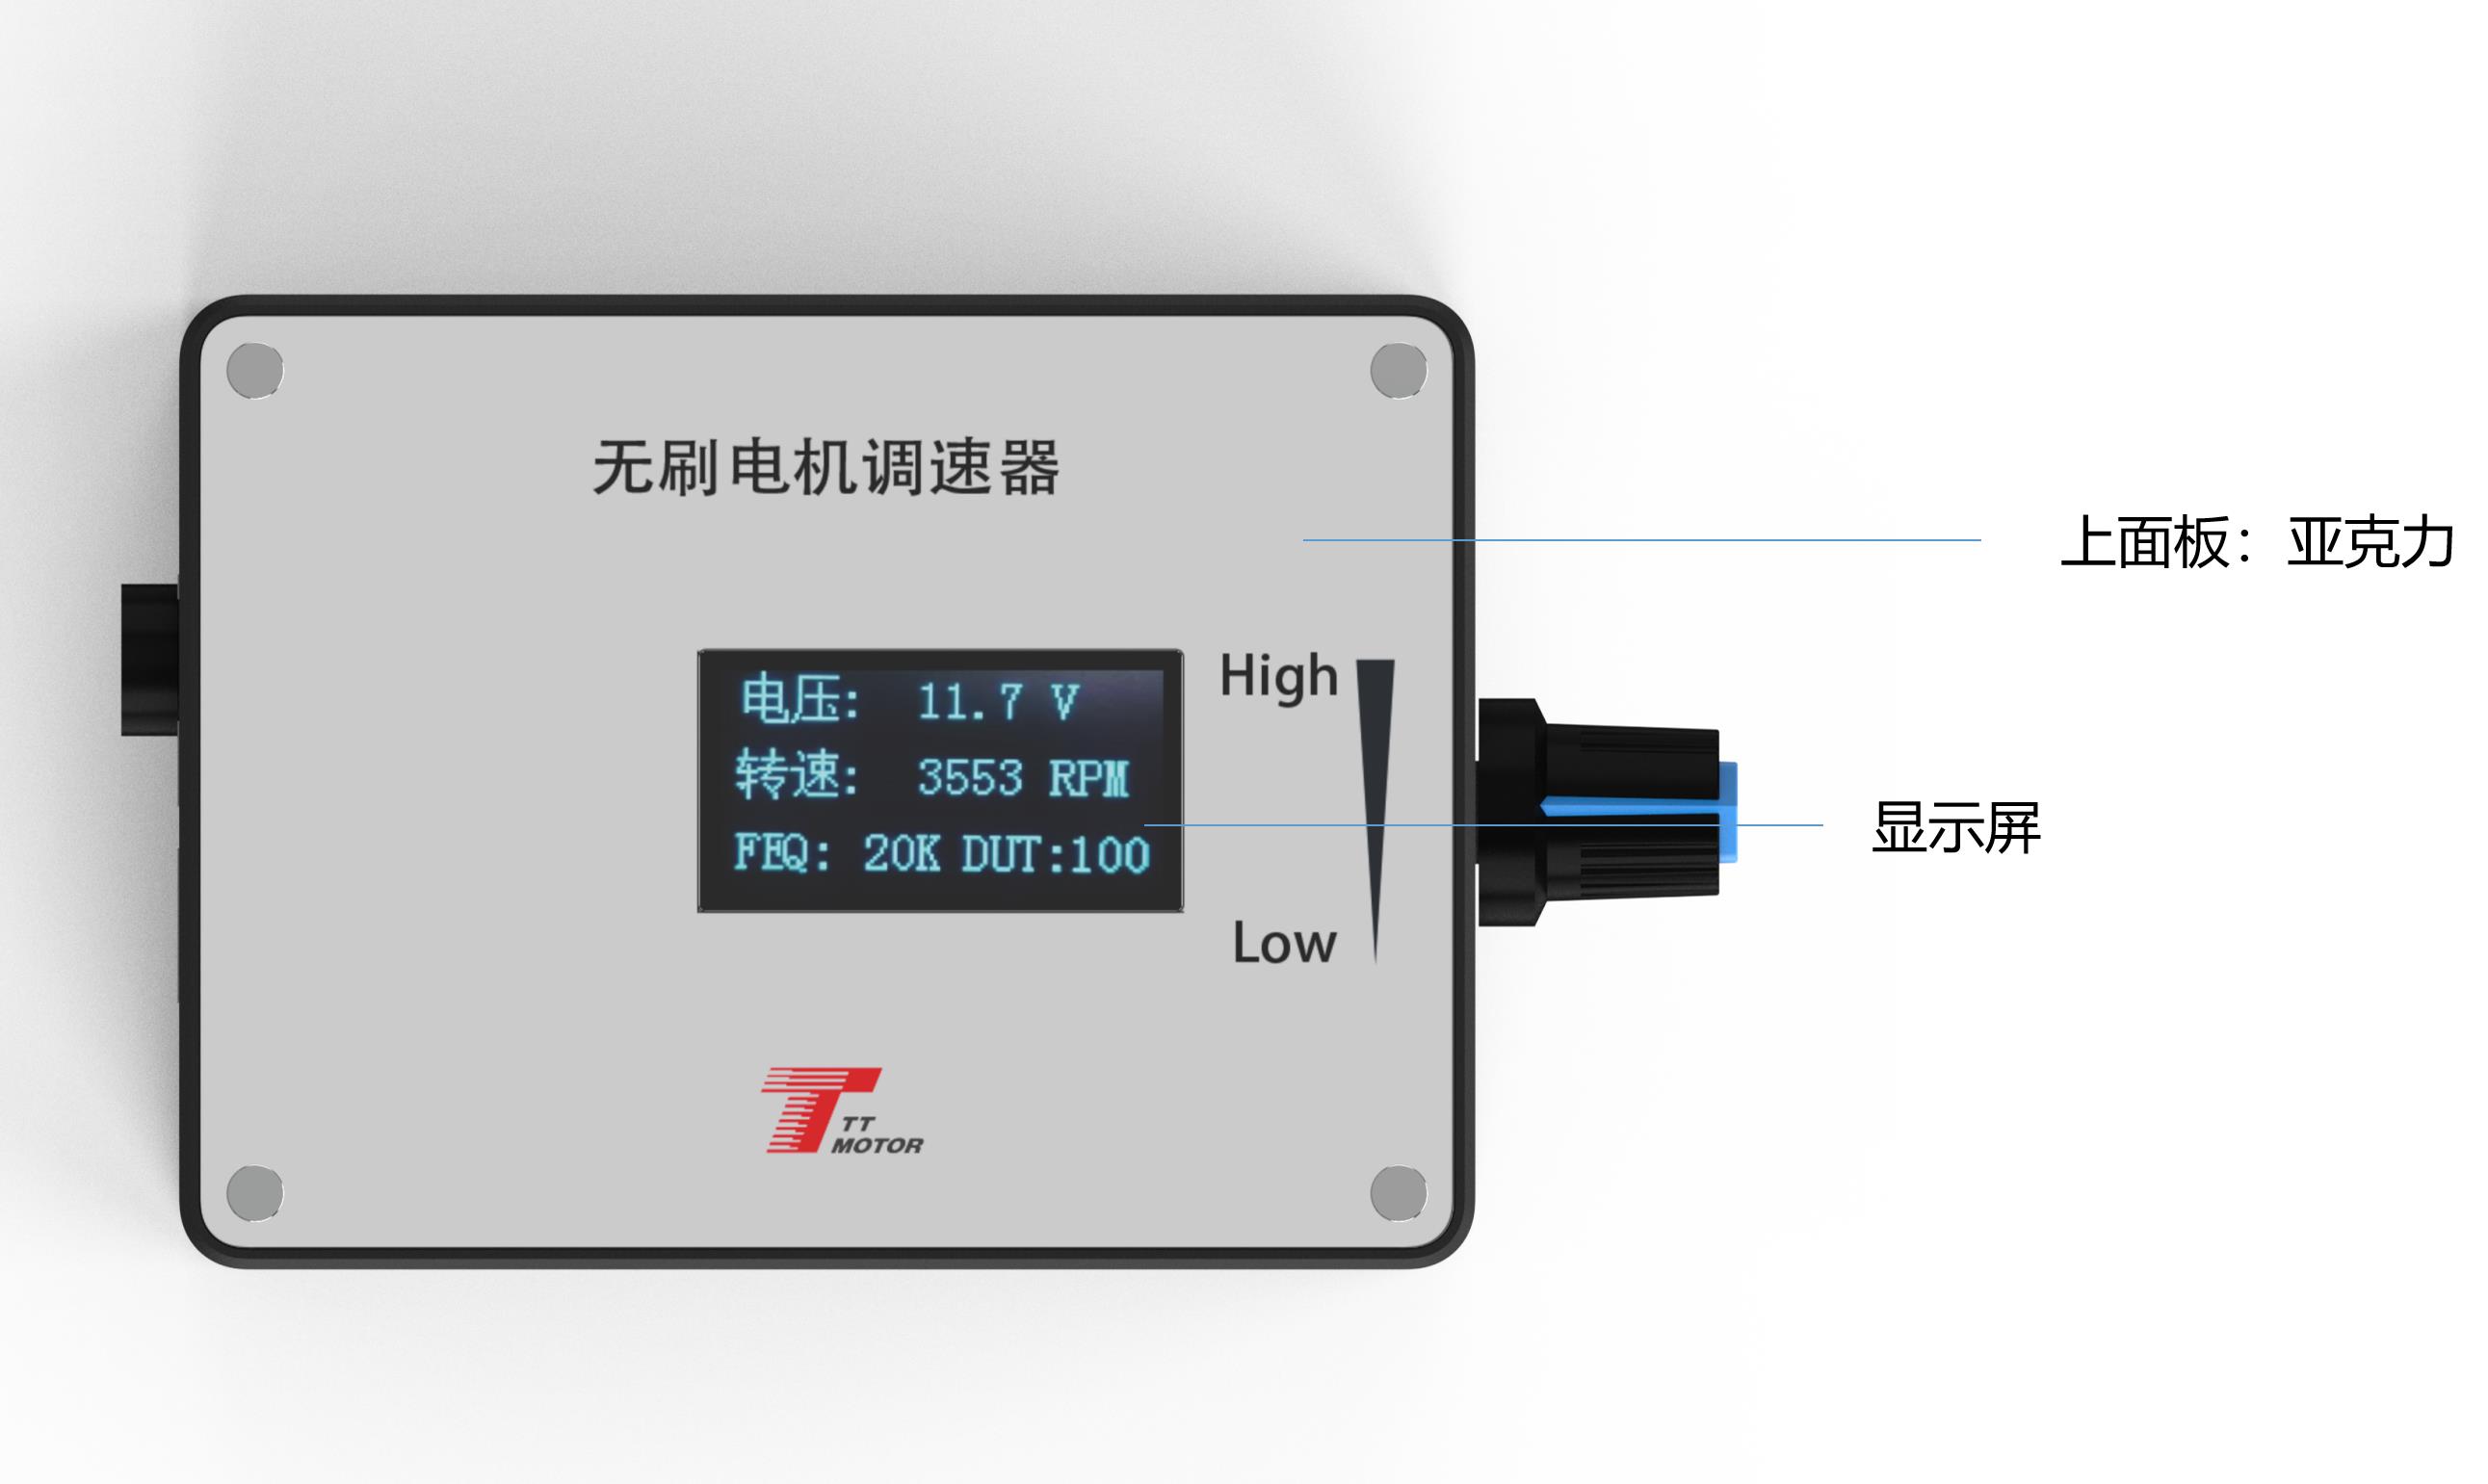
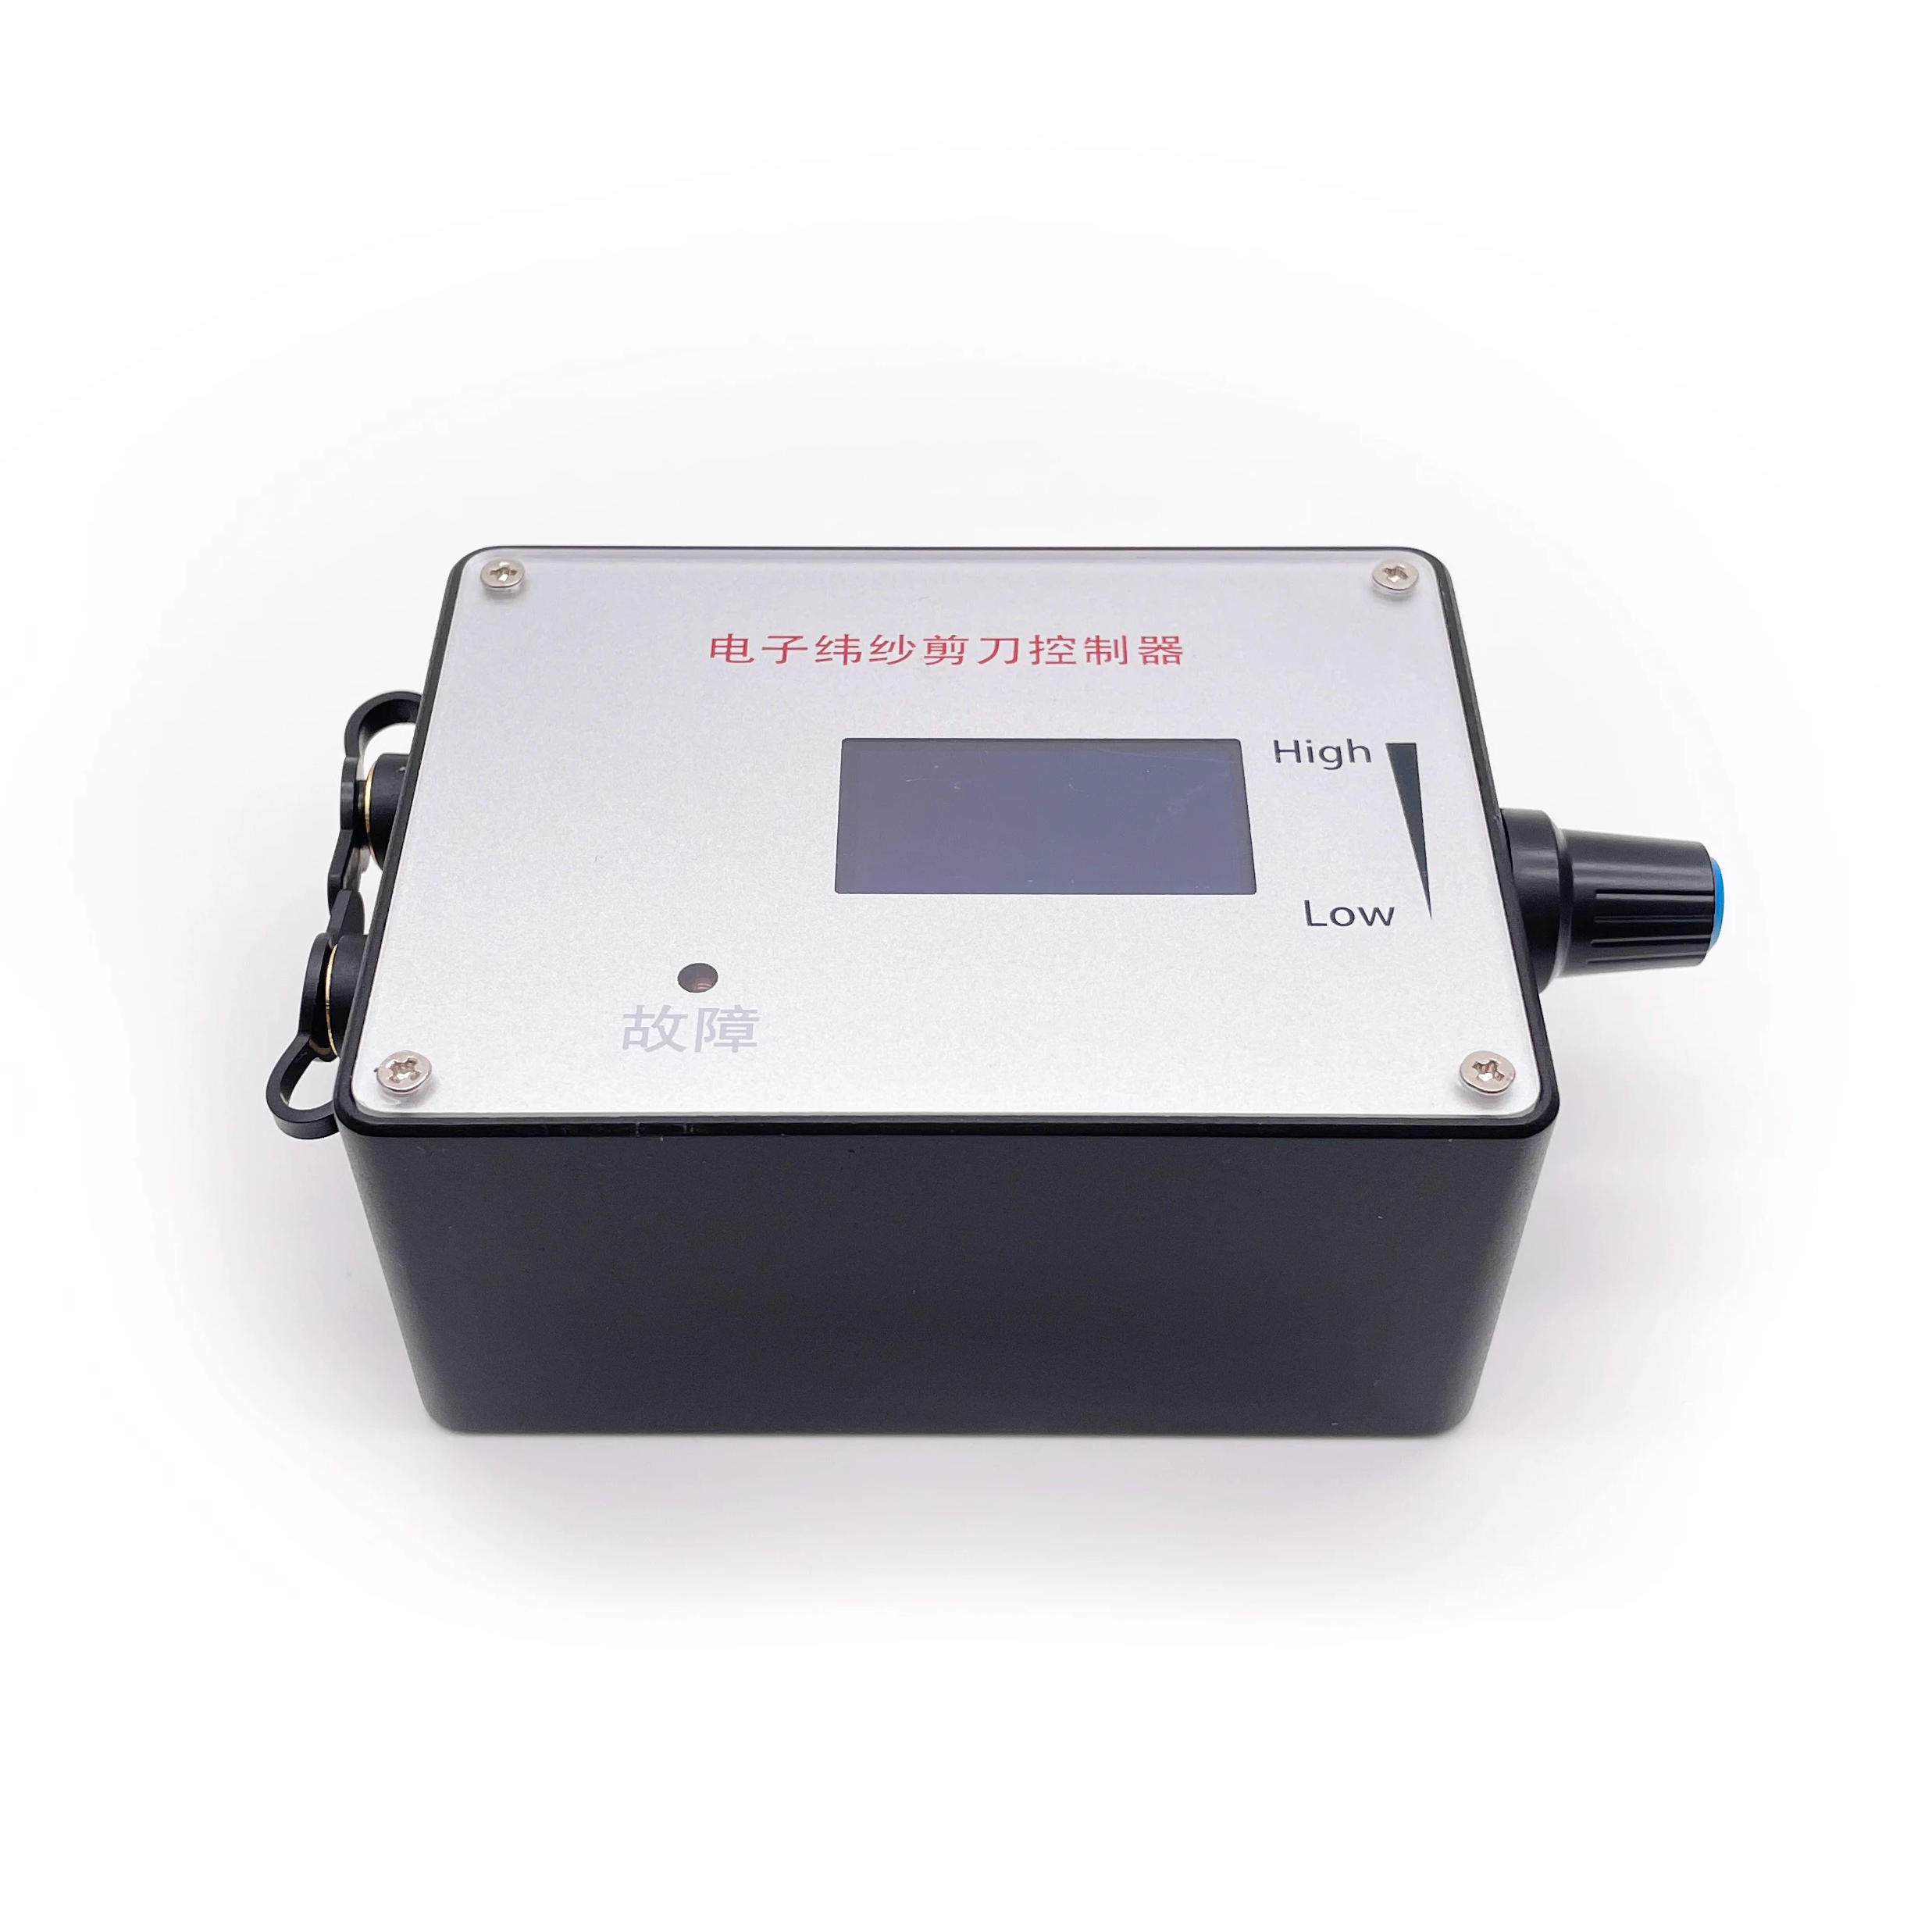
Hold switch 1 before power-on. When "FEQ:20K" displays, release button. Use switch 1 to reduce and switch 2 to add. Factory default: 20KHz.
Poles Setting:
Hold both switch 1 and 2 before power-on. When pole number displays, release. Adjust with switch 1/2. Factory default: 1 pole.
Feedback & Direction:
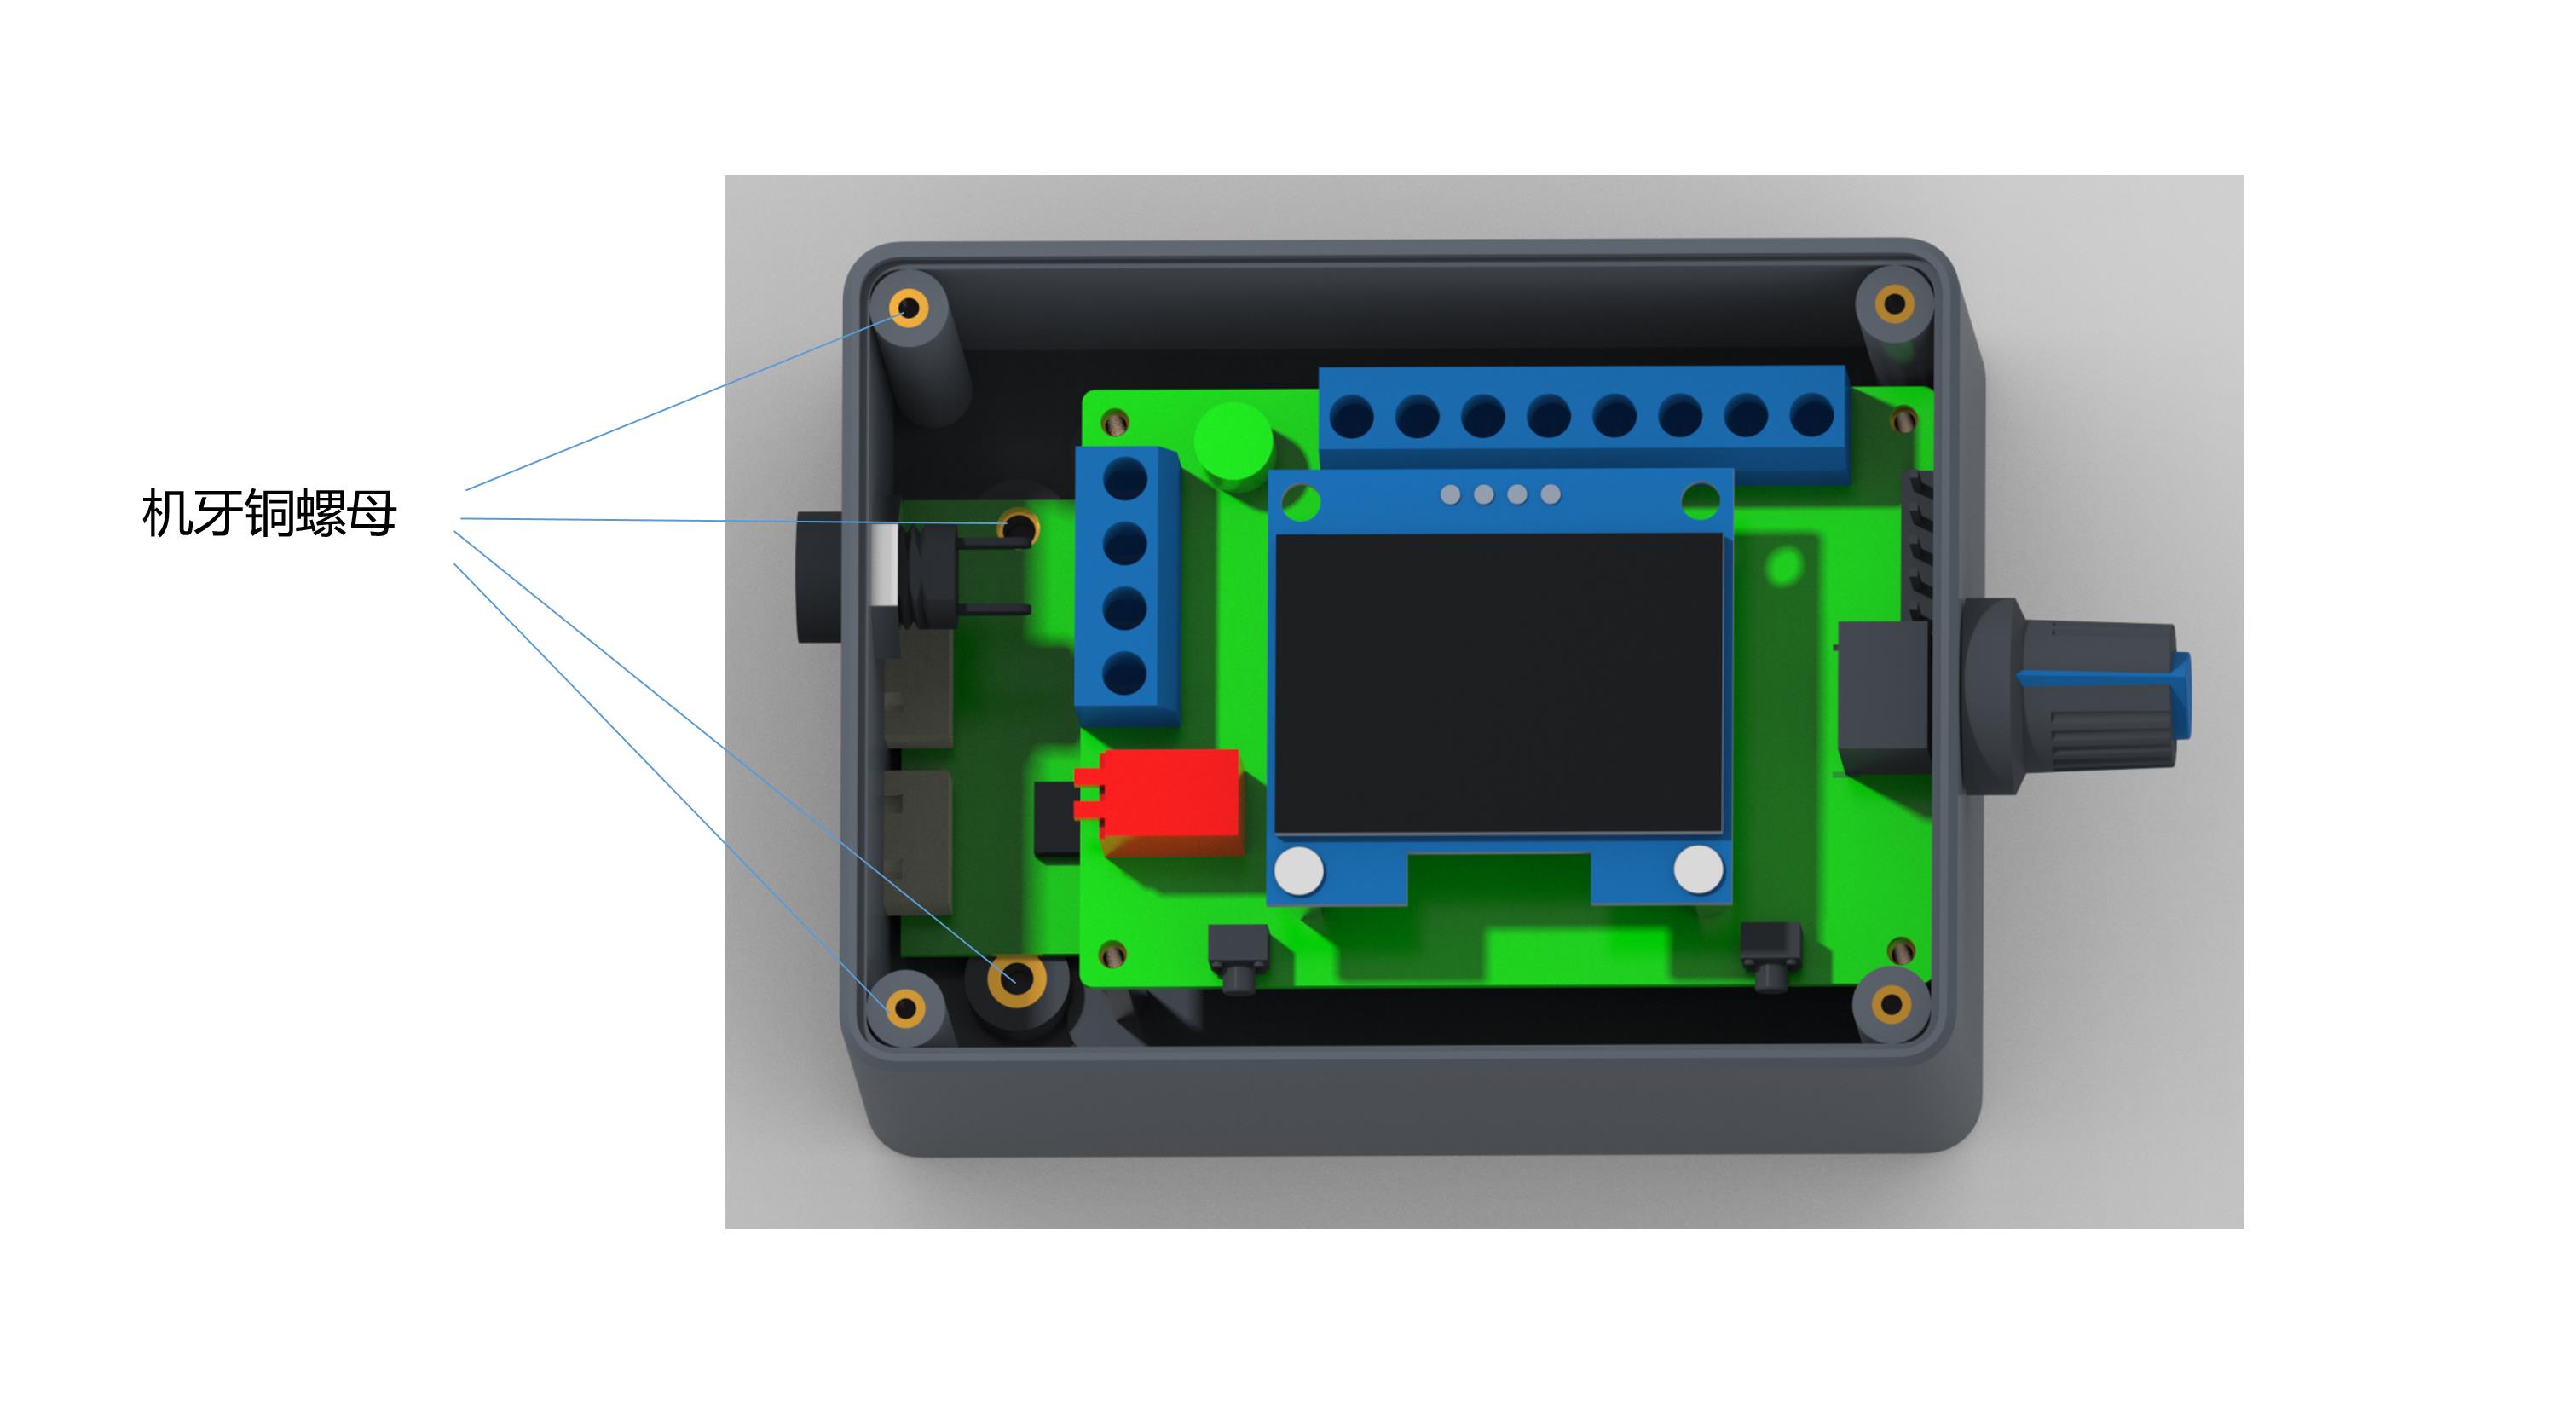
FG/FG*3 pin sets feedback multiple. CW/CCW pin sets initial state: CCW with jumper cap, CW without jumper cap.
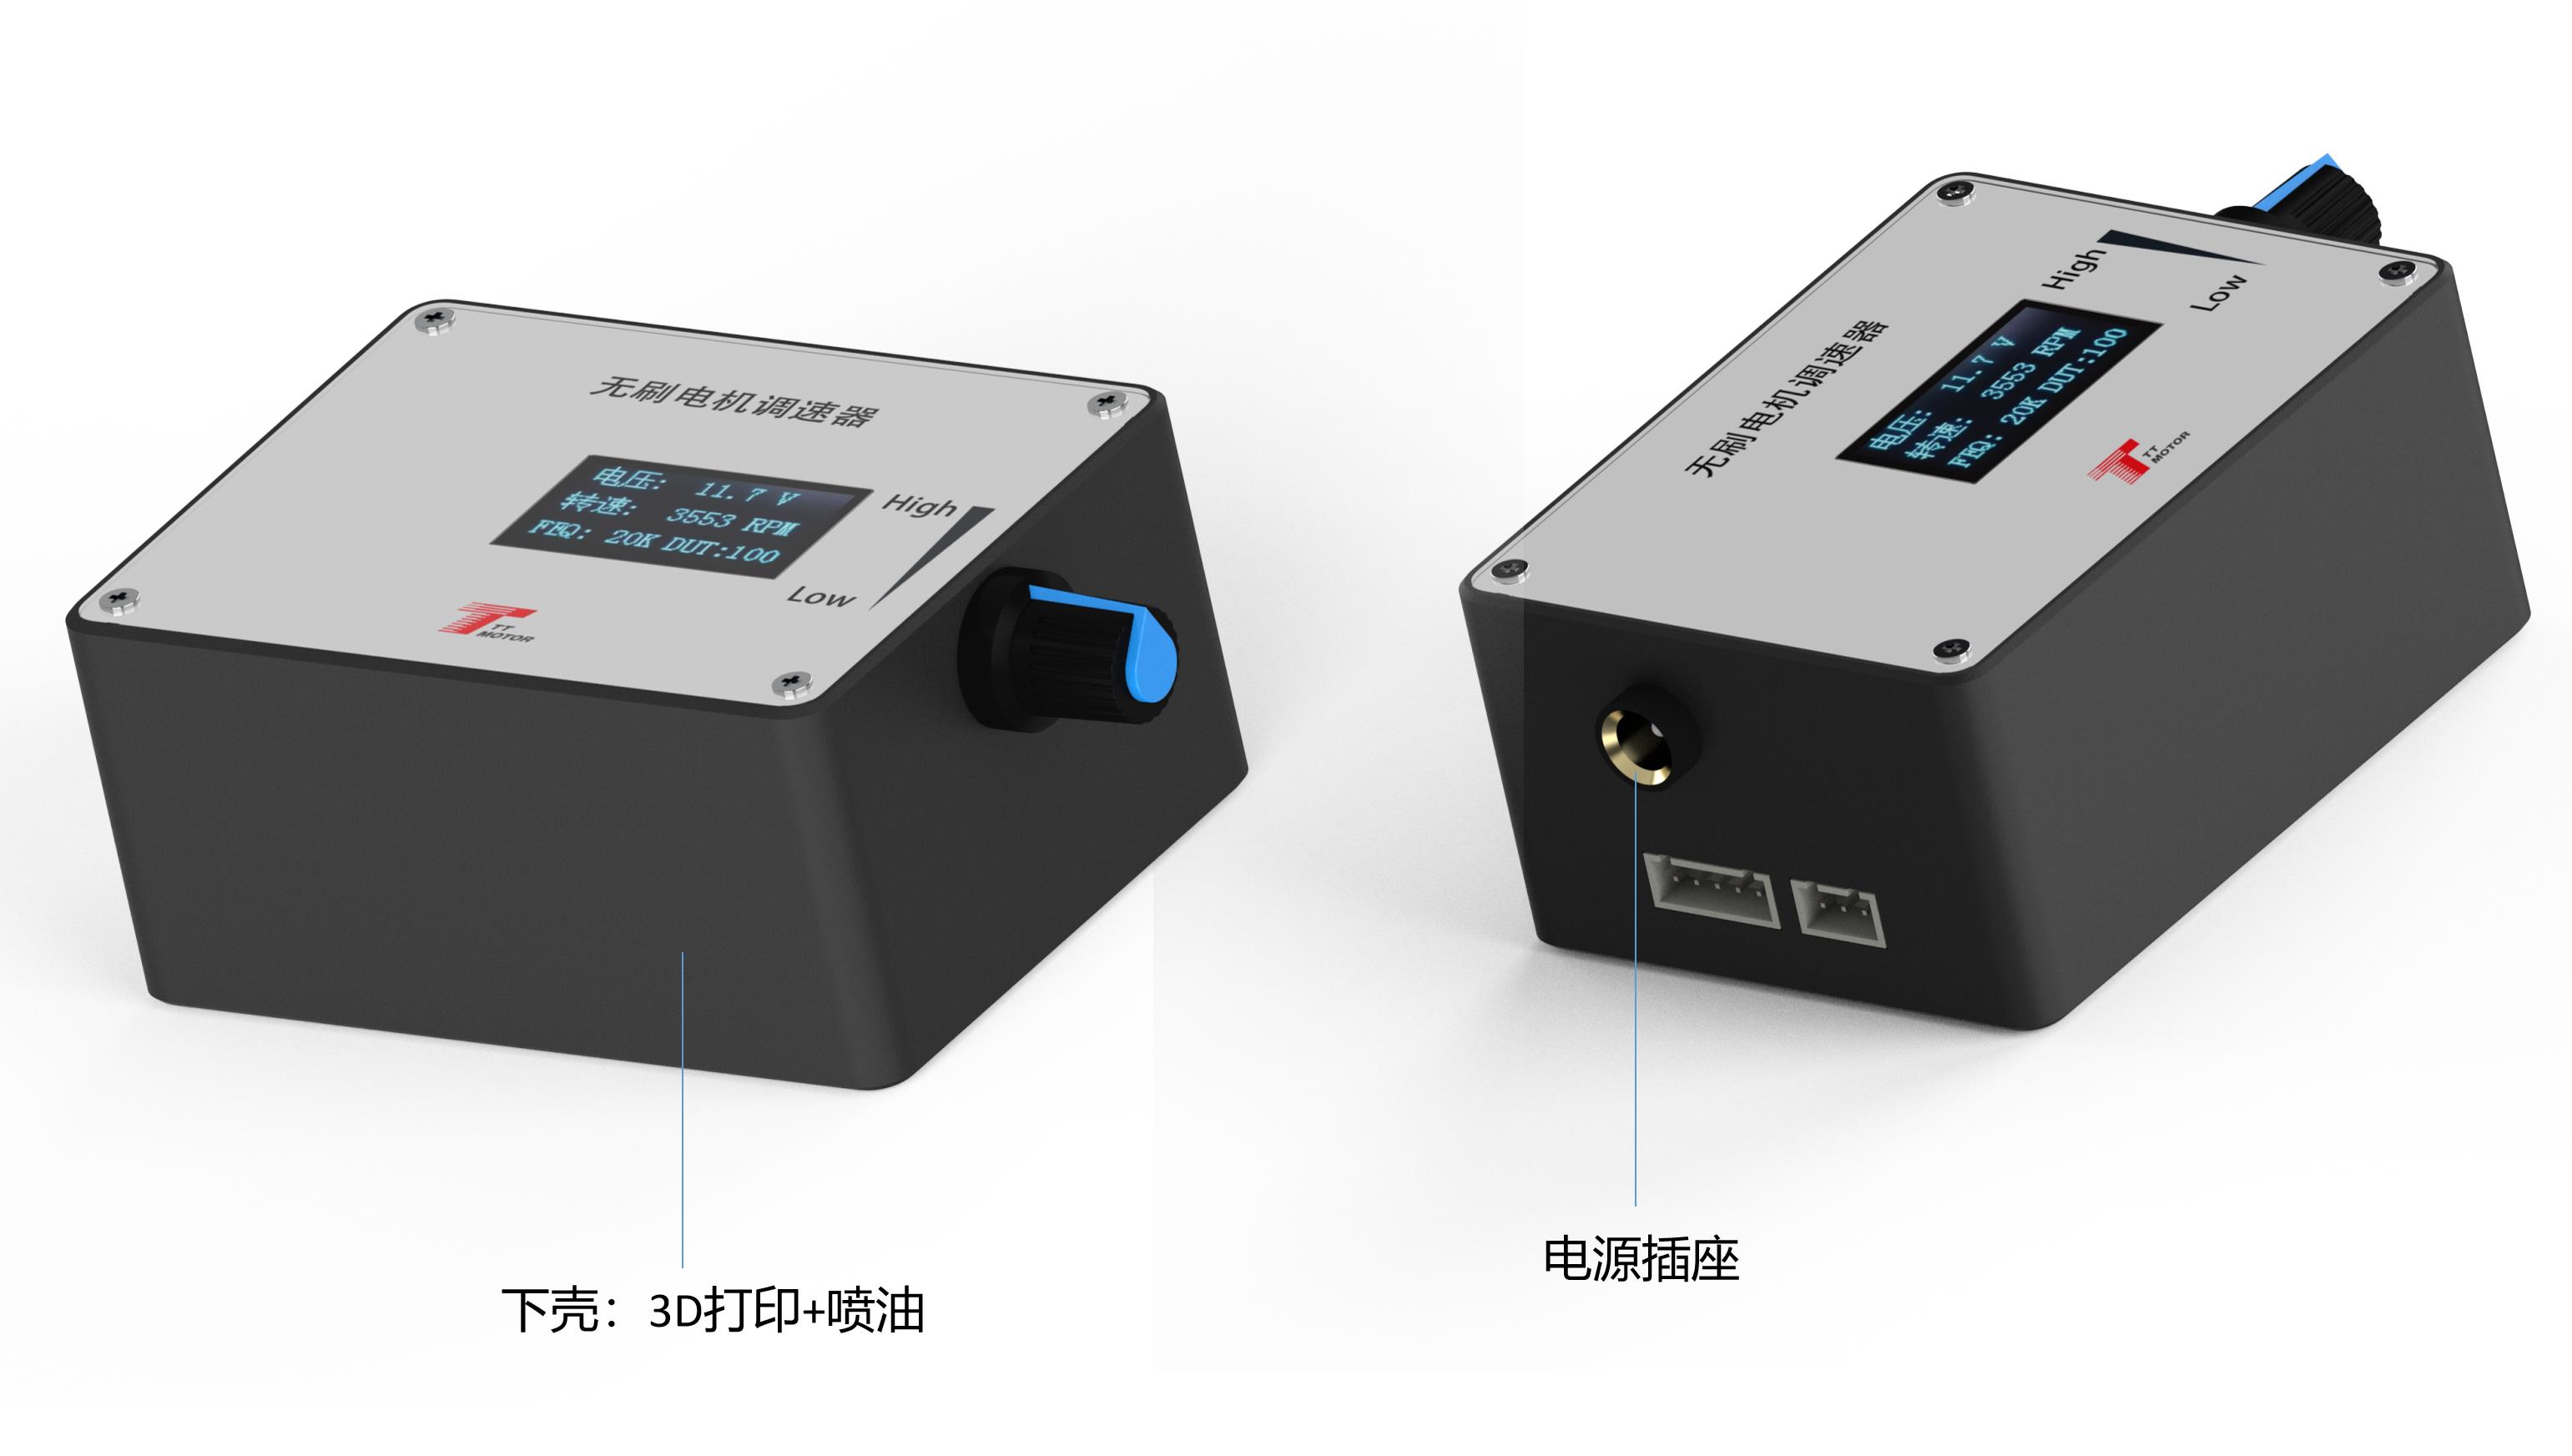
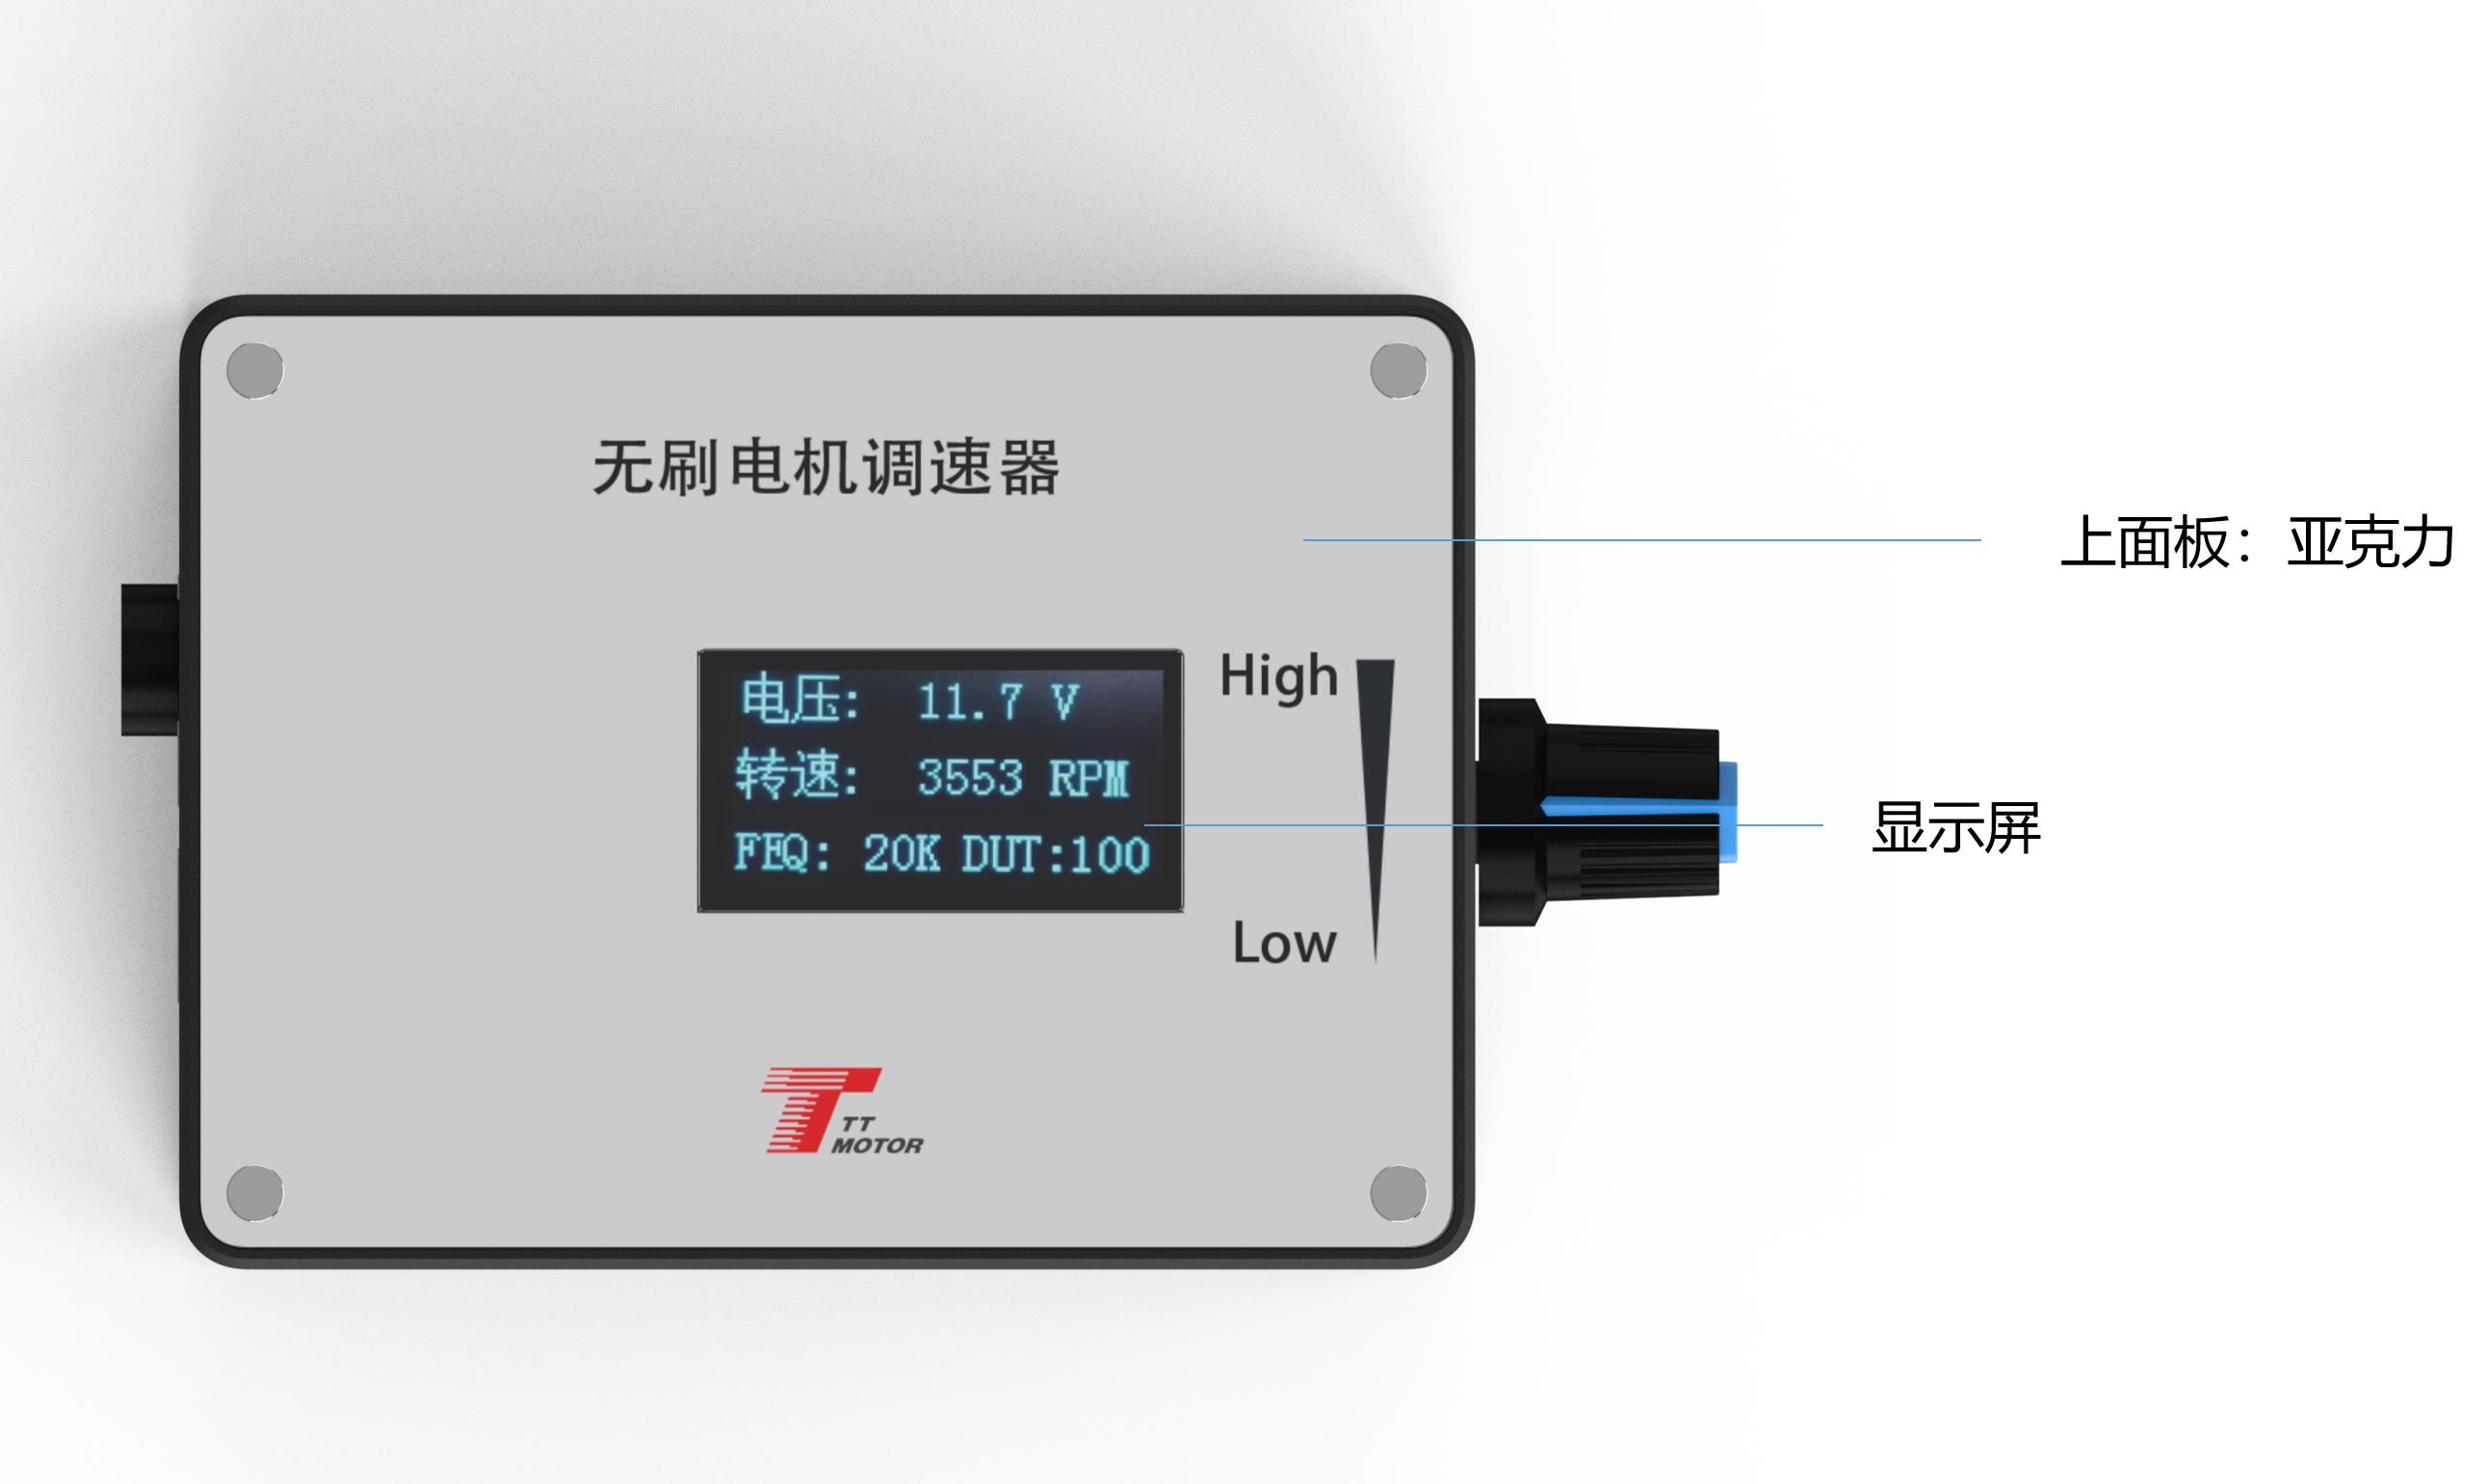
Main Display: The screen displays input voltage, speed, frequency, and duty cycle. For accurate speed display, FG/FG*3 and pole numbers must be correctly set.
❓
Frequently Asked Questions
What is the input voltage range for this governor?
The governor supports a wide DC voltage range from 5V to 28V.
How can I change the PWM output frequency?
Hold down touch switch 1 before powering on the device. Once the screen displays "FEQ," release the button and use switch 1 to decrease or switch 2 to increase the frequency.
What is the maximum current this device can handle?
The rated current is MAX 2A. For motors requiring higher current, the motor power line should be connected directly to the power supply instead of through the governor.
What happens if I reverse the positive and negative power supply?
Reversing the polarity will cause the governor to fail and will likely result in permanent damage or burning of the circuit board.
How do I adjust the number of motor poles for speed display?
Hold down both touch switch 1 and 2 simultaneously before power-on. When the pole number appears on the screen, use switch 1 or 2 to adjust it to match your motor's design.
How do I set the motor direction to CW or CCW?
Initial direction is set using the jumper cap on the CW/CCW pins. Adding a jumper cap sets it to CCW, while leaving it without a cap sets it to CW.
 Fluxon Motor